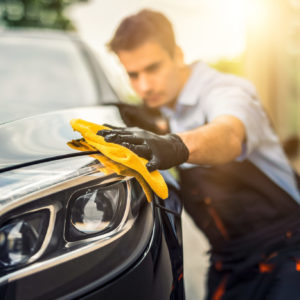
 A classic car is a thing of beauty. Perhaps unsurprisingly, the process for painting classic cars is nuanced and intricate. Yet, there’s nothing worse than spending significant time, energy, and money restoring the body and mechanics of a classic car, only to have a lackluster paint job ruin the entire project. With that in mind, today we’re going to explain everything you need to know about classic car paint jobs. From prep tips, to applying the perfect racing stripe, we’ve got you covered here:
How to Prep a Car for a Paint Job
Tempting though it might be to simply grab a few cans of spray paint and get cracking, this is a terrible idea for several reasons. Not only will it take forever to paint a car with spray paint, it will also look pretty rough and the paint job won’t last. Prepping a classic car for a fresh coat of paint is all about removing dirt and grime that can cause inconsistencies –– like fish eyes –– and ensuring that the next coat of paint will have a solid base. In order to set yourself up for success down the line you can start with these steps:- Apply four-to-five coats of primer and allow to dry for a day
- Wash the car with soap and water
- Remove bolted-on parts like door handles
- Wipe down the car with wax/grease remover
- Sand the car
- Apply another layer of primer (not always necessary)
- Brush the car down again with a rag

; [/php]/images/credit-cards.png)
; [/php]/images/autoshop-logo.png)