Learn About Our Custom Paint Process
From routine auto maintenance to full car restoration, we can help!
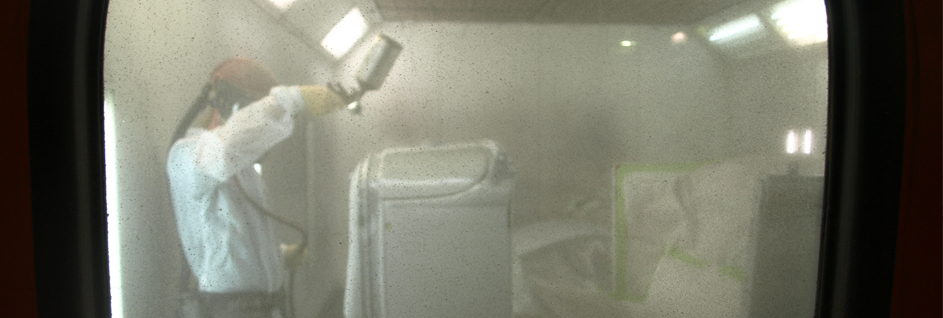
Etching
We start by applying an etching primer over any bare metal (the primer must have acid in it to truly bite into the metal).
Priming
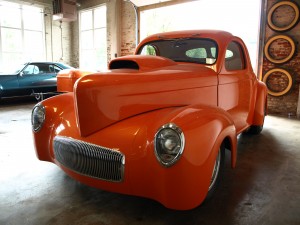
After we have completed all body repair, we apply four to five coats of primer over the entire vehicle (or, at the very least, the repaired areas). The shop uses a two-part urethane high-build primer since one-part primers or lacquer primers do not fare as well over time. Once the primer is applied, the painter lets it bake at 140 degrees and then allows it to air dry for at least one full day.
Blocking
Once the primer is fully applied, we are ready to block sand the vehicle. We start with 220-grit sandpaper on the block and then step down to 320. Block sanding makes the vehicle’s panels as straight as possible plus removes any waves. Sometimes we find it necessary to re-prime after this step if you get a break-through in the body filler. The final sand, which is completed with 400-grit on a dual action sander, gets rid of any marks left by the block sanding.
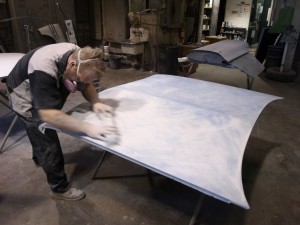
Cleaning
The most effective way to clean the sanding residue from clean vehicle is to wash it with soap and water. We also can use a high-pressure blow gun to make certain that your vehicle is squeaky clean.
Masking
We get ready to mask the vehicle once it is clean and dry. Our masking process involves outlining everything and then going back to apply the paper. We try not to leave any holes open. If there is we tape them closed from behind. This is crucial for two reasons: first, it eliminates getting paint where it doesn’t belong, and; second, it keeps the dirt that could be sitting in your vehicle trapped inside. Dirt definitely can ruin your paint job. Our professional painter also tapes masking paper to the ground around the vehicle to decrease the risk of dust landing on each project.
Clean with Solvent
Next we clean your vehicle with solvents, which removes any contaminates on the panels that may cause paint to improperly adhere. This step also reduces the risk of getting any “fish eyes” in the paint. We use both water-based and solvent-based cleaners since they remove different types of impurities.
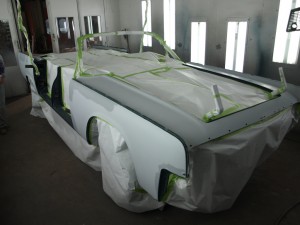
Base Coat
The final step before painting: we use a high-quality tack rag right before we spray tack to remove any dust that has settled on your vehicle. Then the fun begins.
For the base coat, we set our paint guns at approximately 27 psi. Although it makes no difference where we start painting, it is important how we spray. We begin at a specific point on your vehicle, such as the driver’s rear quarter. Once we get to the driver’s front fender, the painter starts back at the driver’s rear quarter again and move around the vehicle the other way. This maintains the “wet edge” so you do not end up with a large dry spot at the end of the job.
Stripes
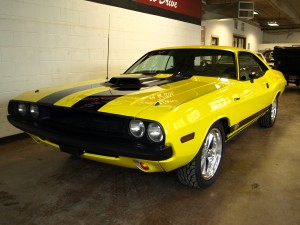
If we are going to apply stripes to your vehicle, we bake the vehicle for 15 to 20 minutes so that the base coat has time to sufficiently dry. Next we measure out where we want your stripes to appear (we use a ribbon-type tape measure since it is flexible and goes around curves better).
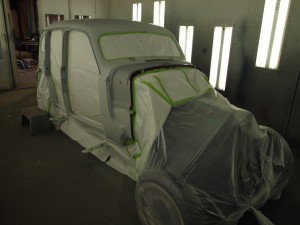
Once you have everything measured, we begin laying it out with a fine line blue painter’s tape. After laying the stripes out, we measure them again to see if they are still correct. Then we tape off the rest of the vehicle with paper and plastic to avoid any overspray. Next, we apply the color of the stripes using the same process as Step Seven. Remove the tape after the paint has dried for 15 to 20 minutes.
Clearing
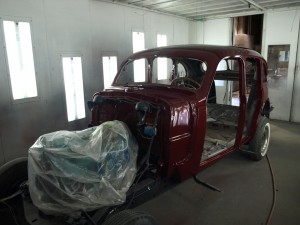
The time has come to apply the clear coat, so we tack the vehicle again with a tack rag to remove any loose dust. Again we use at least a 50 percent overlap, maybe a little bit more, to ensure even coverage and avoid dry spots. We typically apply three coats with a drying time of 10 to 15 minutes in between coats. Just like the base coat, you need to carry the wet edge around the vehicle.
Final Step
After the vehicle has baked the clear for at least 40 minutes, let the vehicle sit for approximately two days. Then we wet sand and buff the vehicle to remove any orange peel or dirt nibs that may have gotten into the paint.
First we get rid of the dirt nibs with a “dirt nib” file. Next we wet sand with a 1,000-grit sand paper. The best way to sand is by hand, but it also can be completed with a dual action sander. Then move down in grit to 1,500 and then 2,000. We are careful around the edges not to cut through the clear. We then move on to a 3M extra cut compound with a wool pad, followed by a 3M rubbing compound with a white pad, and finally a 3M swirl mark remove with a black pad. The painter works with approximately two square feet at a time with each of these steps until the haziness is gone.
Our Services
Our auto body restoration experts carefully plan and properly complete all body work and fabrication services to ensure excellence. We can also handle collision repair.
We don't send your car somewhere else for auto interior restoration, we have our own upholstry shop in-house, and are the leaders at interior car customization.
Our auto mechanical experts handle everything from a simple tune up to a full custom mechanical upgrade. We provide concise estimates and quality assurance.


; [/php]/images/credit-cards.png)
; [/php]/images/autoshop-logo.png)